
Step 1: Sign in to Blogger dashboard → Click on More option drop menu sign → Go to layout.

Step 2: Click on "Add a Gadget" to any where in template where you want to place this widget. (You can also replace it after adding widget by dragging).
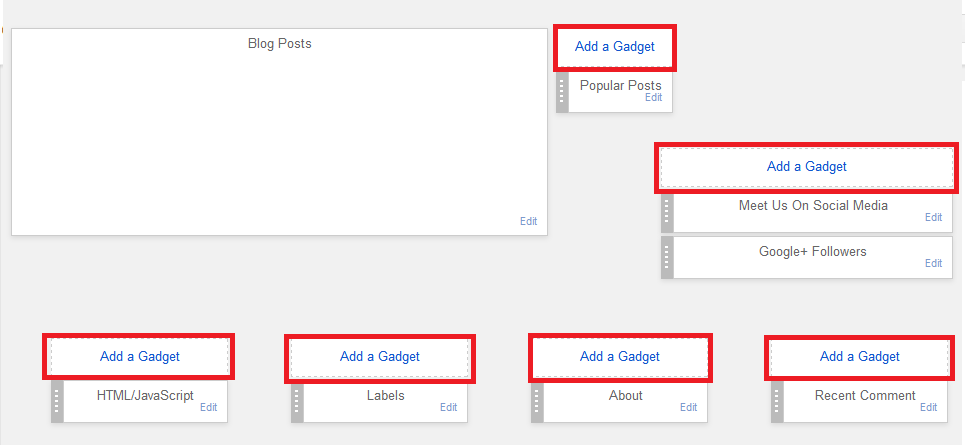
Step 3: Click on "HTML/JAVA Script" widget to add that.

Step 4: Copy the Below code and paste it in "Content Box"
<style type="text/css">
ul.bgt_recent_comments {
list-style: none;
margin: 0;
padding: 0;
}
.bgt_recent_comments li {
background: none !important;
margin: 0 0 6px !important;
padding: 0 0 6px 0 !important;
display: block;
clear: both;
overflow: hidden;
list-style: none;
}
.bgt_recent_comments li .avatarImage {
padding: 3px;
background: #fefefe;
-webkit-box-shadow: 0 1px 1px #ccc;
-moz-box-shadow: 0 1px 1px #ccc;
box-shadow: 0 1px 1px #ccc;
float: left;
margin: 0 6px 0 0;
position: relative;
overflow: hidden;
}
.avatarRound {
-webkit-border-radius: 100px;
-moz-border-radius: 100px;
border-radius: 100px;
}
.bgt_recent_comments li img {
padding: 0px;
position: relative;
overflow: hidden;
display: block;
}
.bgt_recent_comments li span {
margin-top: 4px;
color: #666;
display: block;
font-size: 12px;
font-style: italic;
line-height: 1.4;
}
</style>
<script type="text/javascript">
//<![CDATA[
// Recent Comments Settings
var
numComments = 5,
showAvatar = true,
avatarSize = 60,
roundAvatar = true,
characters = 40,
showMorelink = false,
moreLinktext = "More »",
defaultAvatar = "http://www.gravatar.com/avatar/?d=mm",
hideCredits = true;
//]]>
</script>
<script type="text/javascript" src="http://yourjavascript.com/53371516181/bgt-recent-comments-with-avatars.js"></script>
<script type="text/javascript" src="http://graspinfo.blogspot.com/feeds/comments/default?alt=json&callback=bgt_recent_comments&max-results=5"></script>>Get this <a href="http://graspinfo.blogspot.com/2014/11/how-to-add-recent-comment-gadget-with.html" rel="nofollow" >Recent Comments Widget</a>
Amendments:
- Replace "http:/graspinfo.blogspot.com" with the address of your Blog.
- Replace numComments = 5 with the number of comments you want to show.
Step 5: Click Save button and then save arrangement and see your Blog. You have done.

Feel Free to Question.
Written by Suleman Dawood
Dawood Bukhari is a young blogger and passionate researcher. He writes articles on bloggging,SEO,Hacking and Computer Technology Follow him @ Twitter | Facebook


Does it Really works ?
ReplyDeleteSure it works. .
DeleteHey Can you share the plugin or is there anyway I could have Facebook comments on my each post ?
ReplyDeleteThis is the link of Facebook Comment gadget in Blog
Deletehttp://graspinfo.blogspot.com/2014/11/how-to-add-facebook-comment-gedget-in.html